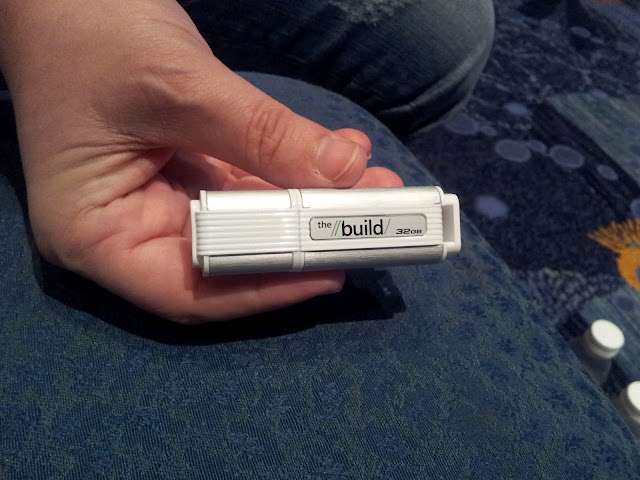
Microsoft has taken one step forward in in portability and introduces Windows To Go – that enables users to boot Windows from a USB drive.
Windows To Go is an exclusive feature for enterprises that allows to install Windows 8 to USB drive as portable OS though it is not a replacement of traditional desktops and laptops. Reasonably, it helps to utilize resources for alternative workplace scenarios.

Windows To Go can be managed just like any other installation of Windows but Hibernate, sleep, Reset PC and Windows Recovery Environment are disabled by default to prevent data corruption during roaming.
And this blog post describes step by step instruction to make Windows To Go installation of Windows 8.
Requirements
- 32GB or larger USB drive
- Windows Automated Installation Kit (WAIK)
- Windows 8 DVD or ISO
How To:
- First of all, Windows To Go needs a primary, active partition in order to boot from USB drive, so let’s create a new primary partition and make it active. Here we use DISKPART utility therefore Run Command Prompt as Administrator and execute the following list of commands one by one:
diskpart
Run Disk partition utilitylist disk
To get disk index that is used to perform disk partitioning.select disk 1
Selects disk to perform disk partitioning.clean
Flush all your existing partitions in USB drive.create partition primary
Creates a partition as primary partition.format fs=ntfs quick
Formats the current partition quicklyactive
Sets the partition as active to hold bootmgr.exit
Quits DISKPART utility
- Now mount/copy/extract install.wim from Windows 8 ISO/DVD (install.wim is located under sources folder)
- Now Run Deployment Tools Command Prompt as Administrator (If UAC is enabled) – Start > All Programs > Microsoft Windows AIK > Deployment Tools Command Prompt and execute the following command to clone Windows 8 to USB drive.
- Let imagex.exe finish and then execute the following command to copy critical boot files to the USB drive’s partition and to create a new system BCD store.
- Now reboot your computer and boot from USB drive. When Windows To Go drive boots, it will detect all hardware on the computer and load or install correct drivers automatically while logging on.
imagex /apply D:\\Sources\\Install.Wim 1 E:\\
Copy the OS files (which has Index #1) to E: (USB drive)
bcdboot E:\\Windows /s E: /f
Note: Don’t install such applications that bind to computer hardware because it may cause problems in different workspace scenarios.

Leave a Reply