Create Bootable Windows USB Flash Drive (UEFI)
by

Windows 11 System Requirements and Supported Surface PCs
by
Hello world, I’m back!
by

Google promotes Google Chrome 28 to the Stable Channel
by
OEM partners to get Windows 8.1 RTM in late August
by

Opera 15 is stable now, brings fresh design and a new engine
by

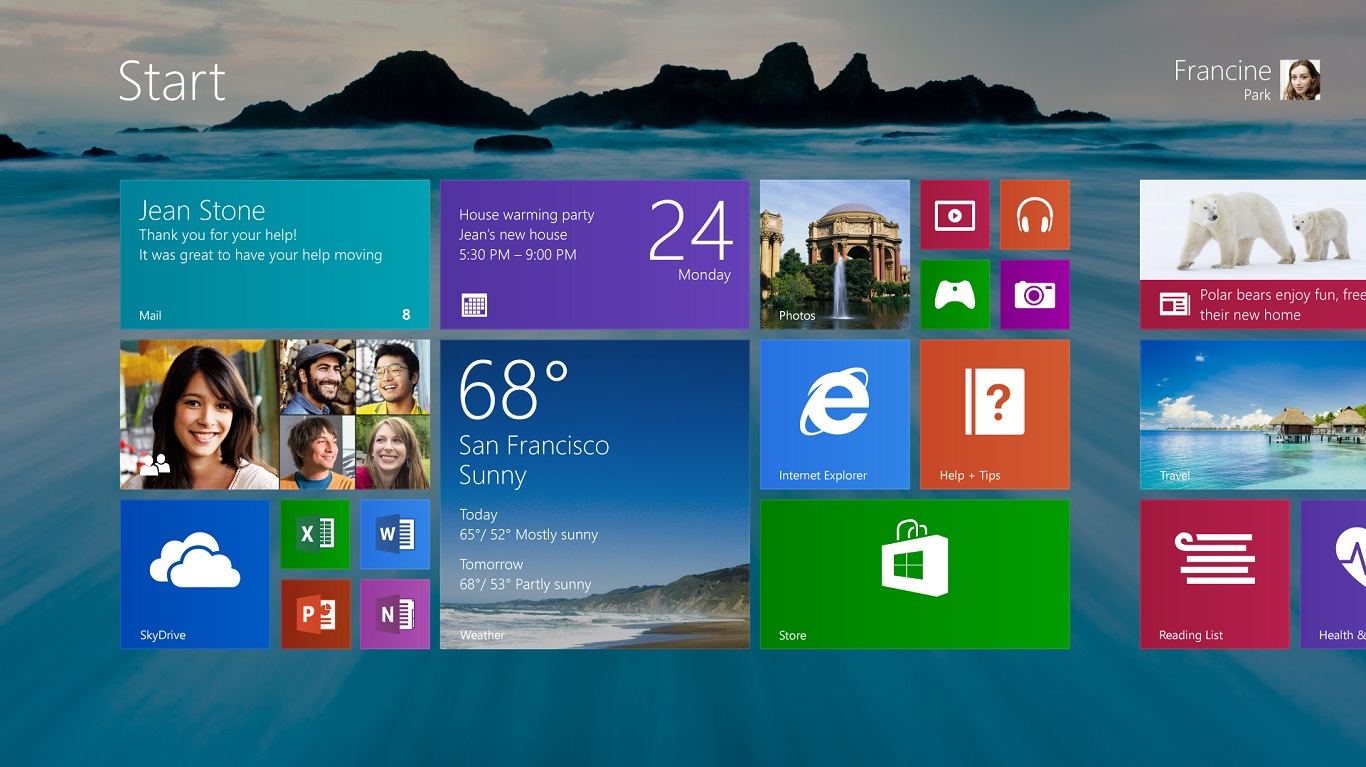
Windows 8.1 Preview goes live, Download Now!
by
Windows 8.1 Preview’s minimum system requirements
by
Windows Server 2012 R2 Preview is Available!
by
Firefox 20.0.1 is Available Now with New Download Experience
by
Patch Tuesday – Microsoft promoted IE 10 to v10.0.4
by

Internet Explorer 10 for Windows 7 is Available Now!
by